Name labels are one of the fastest ways to mark clothes — it takes just a few seconds per garment and you need no tools. But for the label to stay put wash after wash, it's worth applying it the right way from the start. Here's how to do it, where on the garment the label should sit, and the little tricks that make it last.
What you need
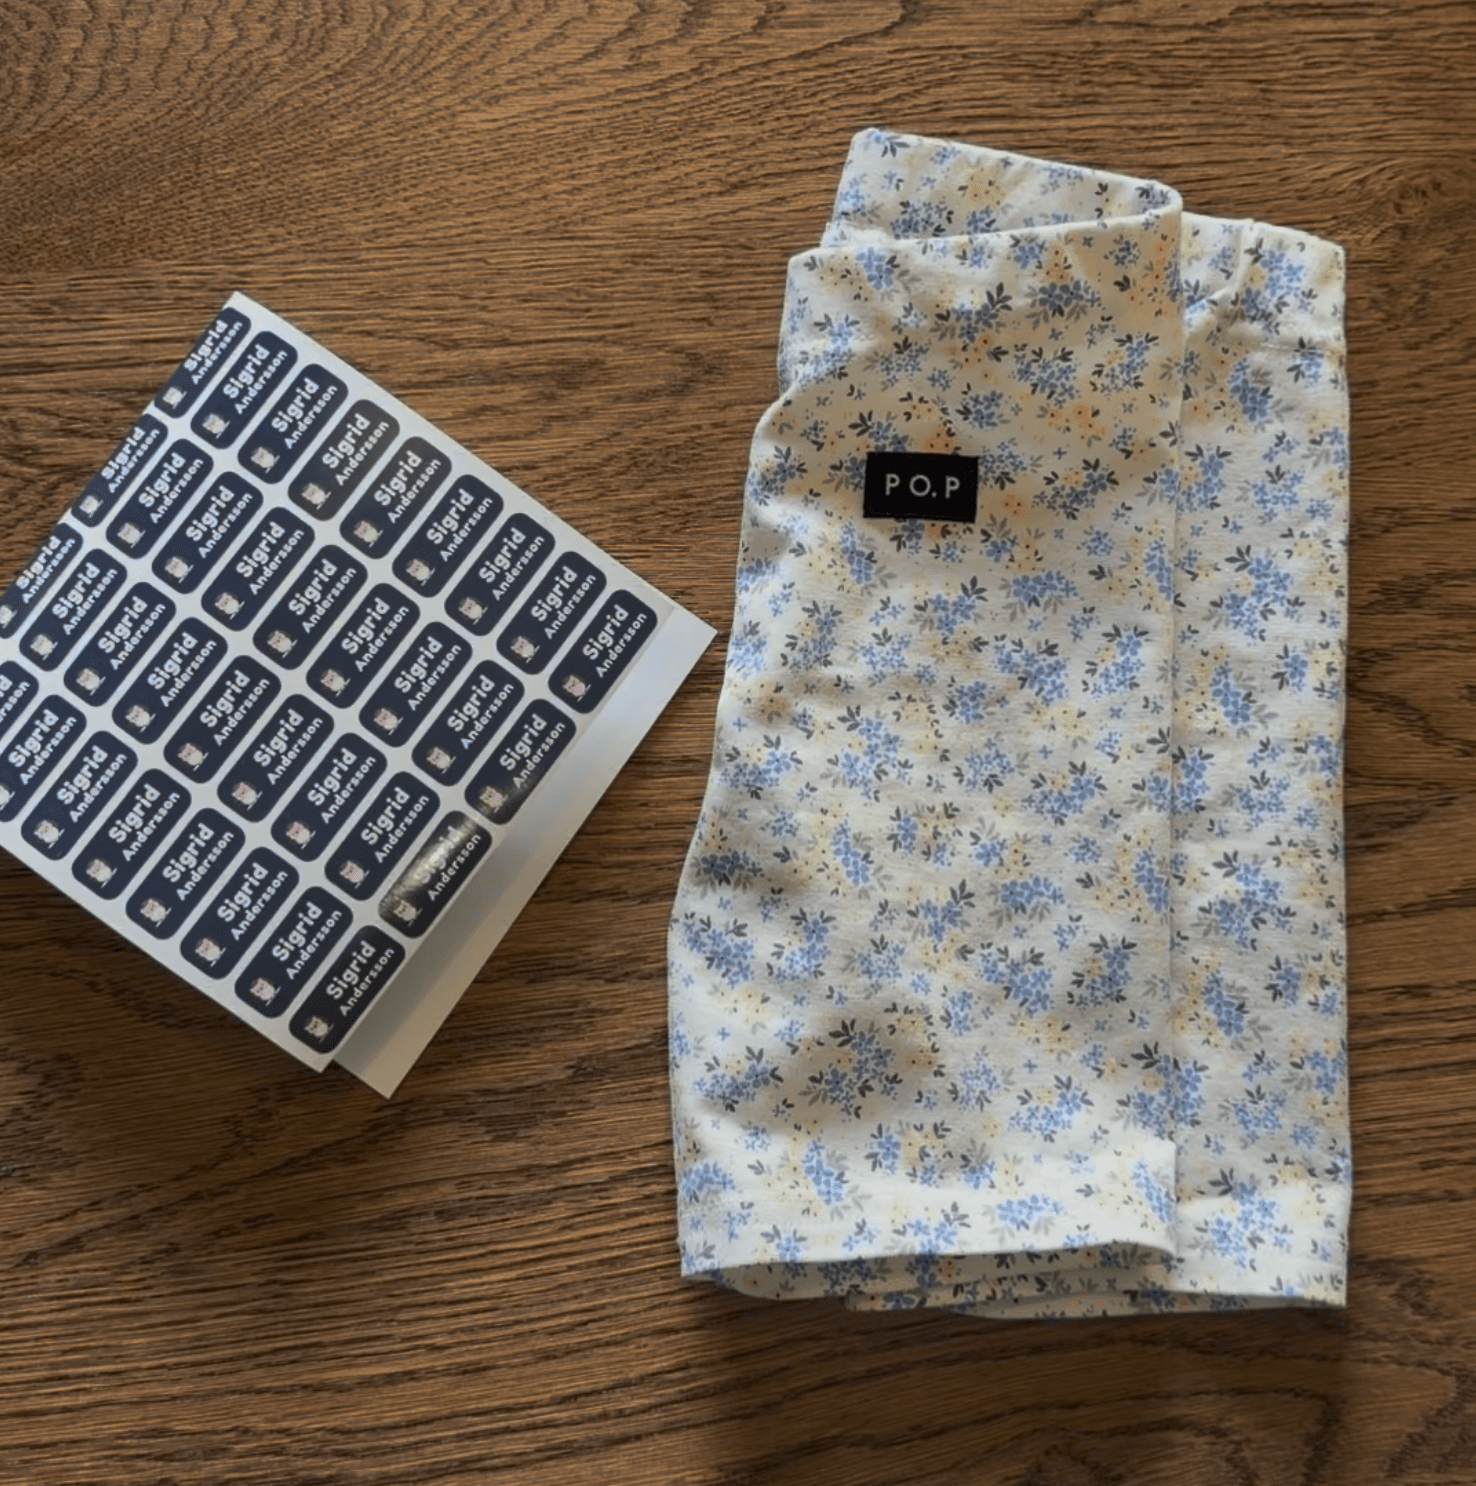
Really nothing more than the labels and the garment itself. Unlike iron-on labels, no iron is needed — the adhesive is activated by the pressure of your finger. The only thing to keep in mind is that the surface you apply the label to is clean and dry.
How to apply the label – step by step
- Find the care label. It's the small fabric tag with washing instructions, usually sewn into the side seam, the neckline or the waistband.
- Make sure the surface is clean and dry. A new garment usually needs nothing — but if there's moisture or dirt on the care label, wipe it off and let it dry completely first.
- Peel the label off the sheet. Hold it by the edge so you don't touch the adhesive side unnecessarily.
- Place the label in the middle of the inside of the care label. Choose the smoothest part and avoid folds, seams and edges.
- Press firmly. Press with your thumb across the whole label for 10–15 seconds. The pressure is what makes the adhesive bond.
- Let it settle before the first wash. Wait a few hours — ideally a full day — before washing the garment for the first time. In practice this usually takes care of itself: if you label a garment when it's new, the adhesive has plenty of time to settle long before it's worn and washed.
Where on the garment should the label sit?
Apply the label to the inside of the care label, i.e. the side that faces the fabric. That way it doesn't show on the outside of the garment and sits gently against the skin.
If the garment has several care labels, choose the one that's largest and smoothest. If the garment has no care label at all — some socks, underwear and accessories don't — there's no surface to attach the name label to, since it needs a label to stick to. In that case a marker pen or an iron-on label in a discreet spot is better. We go through all the options in the guide on name labels for clothing.
How to make the label last longest
Three things determine how long the label stays:
- Clean, dry surface. The adhesive bonds worst to moisture, lint and dirt.
- Firm pressure. Press the whole label, not just the middle — especially the corners.
- Patience before the first wash. The longer the adhesive gets to settle before the first wash, the better it grips.
Do those three things and the label stays put wash after wash, through both the washing machine and the tumble dryer.
Frequently asked questions
Do I need to iron or heat the label?
No. This type of name label needs no iron — unlike iron-on labels. A firm press with your thumb is enough to activate the adhesive.
How long should I wait before the first wash?
A few hours works, but ideally let the label sit for a day before washing the garment for the first time. By then the adhesive has gripped properly.
The label is coming loose at one corner — what do I do?
Press it firmly again against a clean, dry surface. If it has come off completely, apply a new label in the same spot.
Can I put the label directly on the fabric instead of on the care label?
We recommend the care label. The adhesive is made for the smooth surface of a label, and the placement is both more discreet and gentler against the skin.
Does the label work on all care labels?
On the vast majority of modern garments, yes. On very thin or glossy care labels adhesion can vary — but in most cases the label sits firmly over time.